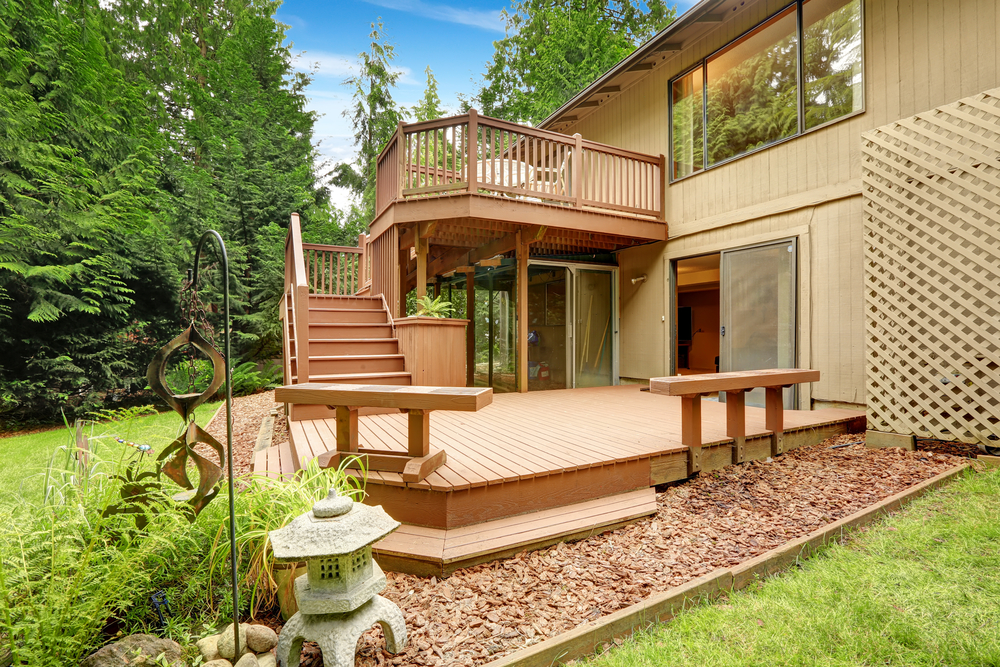
Summer is upon us and the outdoor living season is in full bloom. In neighborhoods all across the country, people are using their backyard decks for grilling, sunbathing and entertaining, day and night.
However, it’s important to make sure your deck is safe and structurally sound before using it. Start by conducting an annual visual inspection of the entire deck. You don’t have to be a professional builder or home inspector to spot trouble; you just have to know where to look. Listed below are 10 common defects that can cause a deck to fail.
When inspecting your deck, pay particular attention to these 10 areas. Then, if you find anything suspicious, you can either fix it yourself or hire a professional carpenter. However, if you notice any serious structural problems, cordon off the deck and call a licensed engineer to evaluate the situation and offer a solution.
1. Loose Ledger
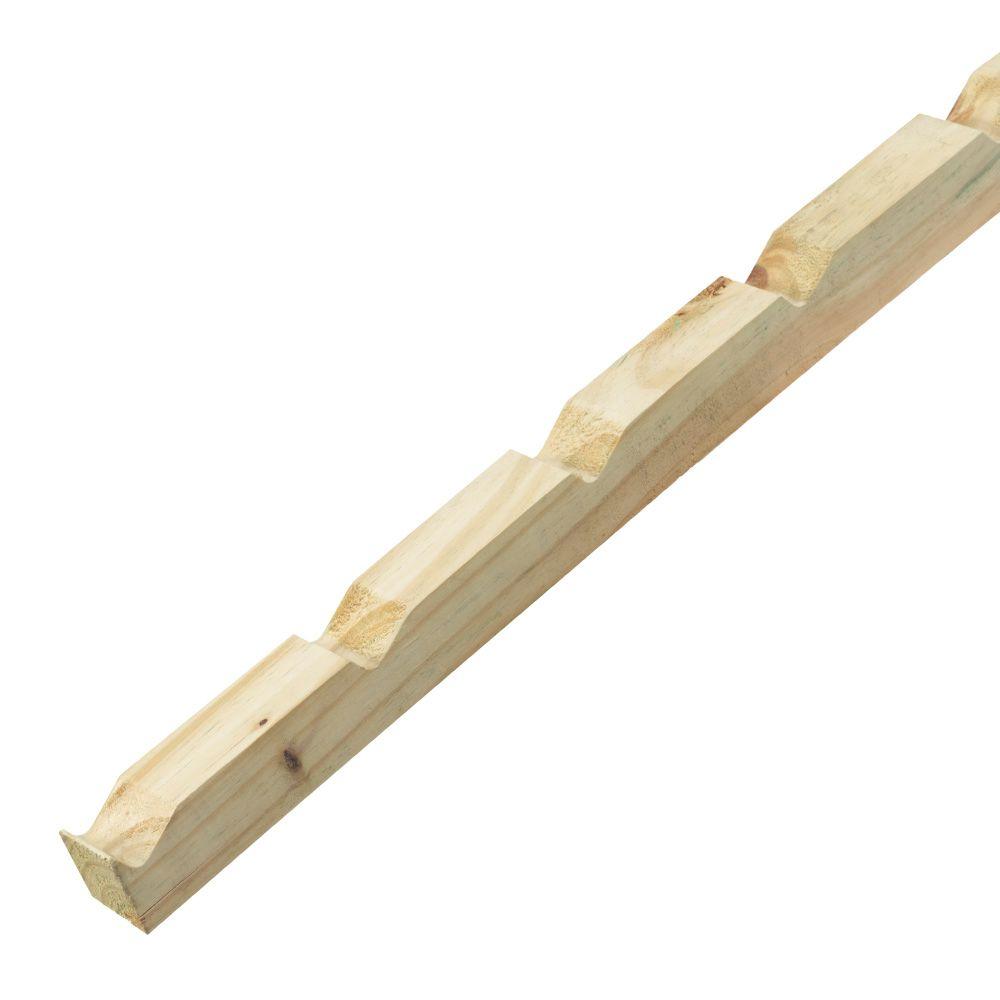
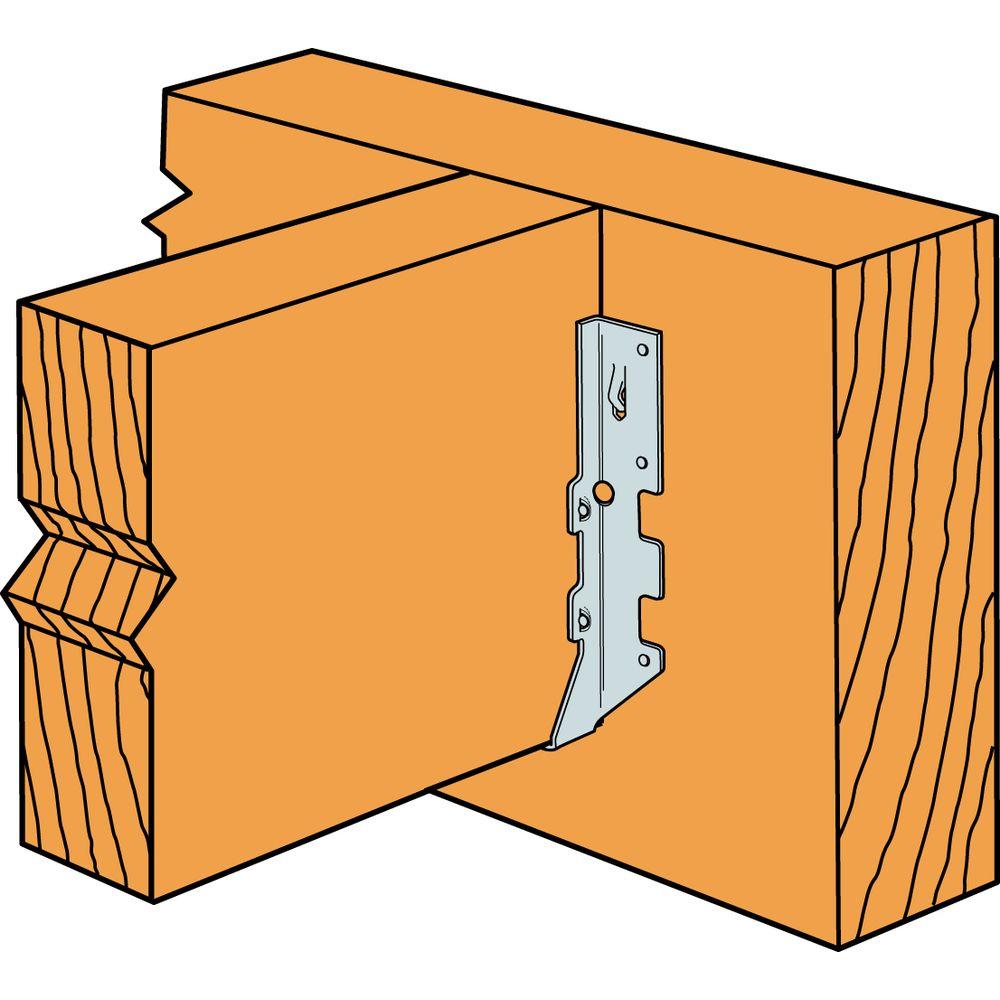
When a deck is attached directly to the house, it’s supported by a long, horizontal, pressure-treated board called a ledger. The end of each floor joist is fastened to the ledger, usually by a metal hanger. Most catastrophic deck collapses occur because the ledger is either badly decayed or not properly fastened to the house.
To prevent water from seeping behind and rotting the ledger, there should be a continuous length of metal flashing running along the ledger. The flashing must extend up behind the house siding and overlap the top edge of the ledger. If the ledger on your deck has no flashing, you must install one, which is a relatively easy job if the decking runs parallel to the house. Simply pry up one or two rows of decking, install the flashing and replace the deck boards. If, however, the decking runs perpendicular to the house, you’ll have to raise every deck board to expose the ledger.
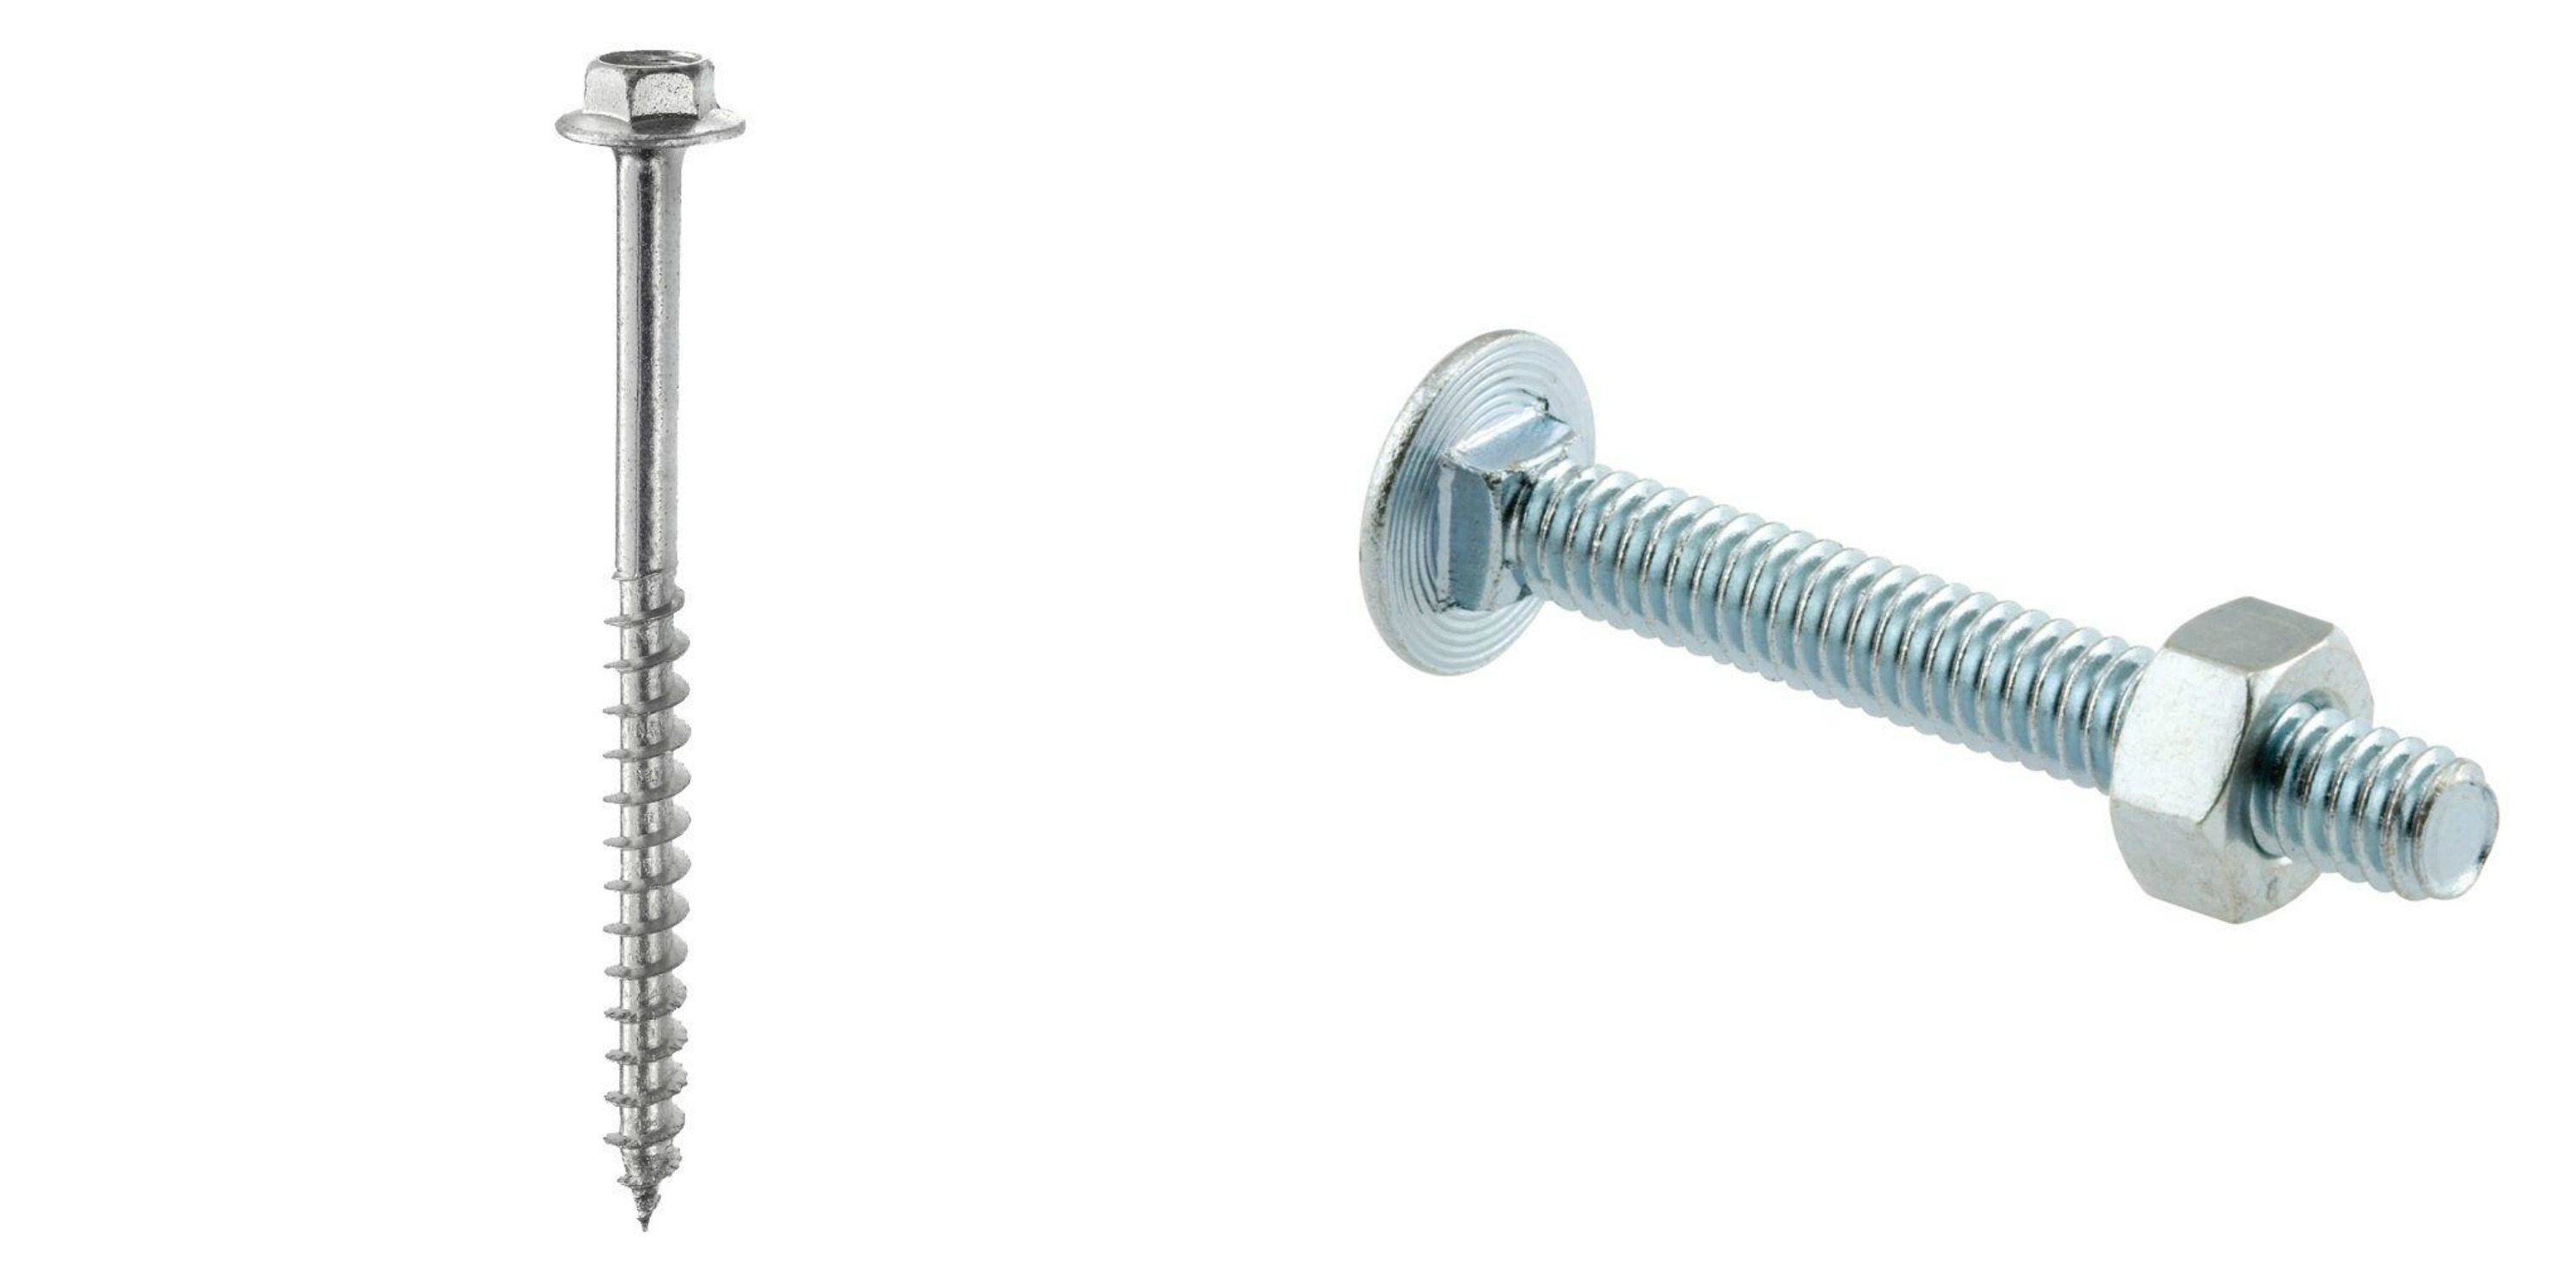
It’s also important to confirm that the ledger is bolted tightly against the house along its entire length. It should be fastened with lag screws or, better yet, carriage bolts. Check to be sure the lags or bolts are fastened into solid house framing, not just plywood sheathing. If your ledger is attached with just nails or decking screws, install half-inch-diameter lag screws or carriage bolts, spaced 16 to 24 inches apart. If the ledger is badly split or cracked, replace it.
2. Cracked Concrete Piers
Most elevated decks have vertical wood posts that rest on top of concrete piers or extend down into concrete-filled holes. Either way, inspect the condition of the concrete to make sure it hasn’t cracked in half or begun to crumble and disintegrate. You should also measure the diameter of the piers. To provide proper support, each one should be about three times wider than the post.
If you have an on-grade deck that sits close to the ground, it’s probably propped up by concrete blocks, bricks or poured-concrete piers. Take a flashlight and peek beneath the deck to confirm that none of the supports has shifted out of position, cracked or sunk into the ground. If necessary, jack up the deck, install temporary bracing and then replace any damaged supports.
3. Weak Posts
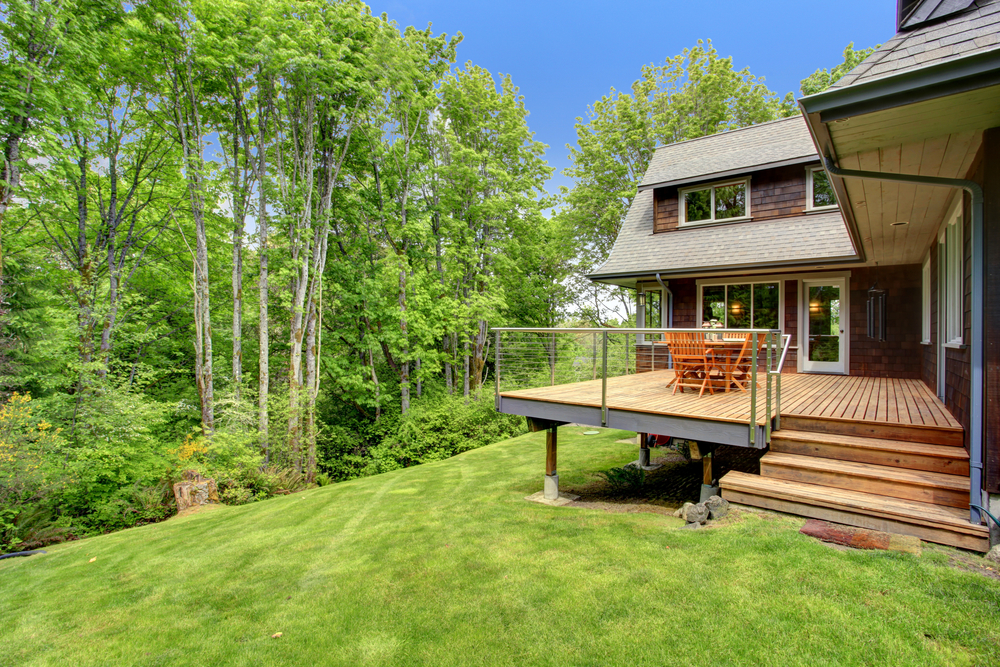
Elevated decks are typically supported by tall vertical wooden posts. In the past, 4×4 posts were commonly used, but most modern decks are supported with 6x6s, which are much stronger and more dimensionally stable, meaning they’re less likely to bend, twist, warp and split.
Carefully inspect each post to ensure that it’s firmly attached to the concrete pier at the bottom and to the deck frame at the top. Check the base of the post for water damage by poking around with an awl. If the awl sinks deep into the wood or the wood fibers are soft and spongy, then the post is rotting. If a post shows any signs of decay or damage, replace it immediately.
4. Bad Beams

All but the tiniest decks have large horizontal beams resting on top of the support posts or piers. The beams, in turn, support all the floor joists. Therefore, the structural integrity of the entire deck is dependent upon the condition of the beams.
Check the beams for large cracks and water damage. Confirm that the beams are securely fastened to the tops of the posts or piers. Peer down the length of each beam to be sure it’s not sagging under the weight of the deck. If it is, you’ll need to shore it up by installing one or more supports. If the beams are made of untreated lumber, they must be at least 12 in. above the ground.
5. Faulty Floor Joists
As mentioned earlier, the ledger board and beams support all the floor joists, which are usually spaced 16 in. on center. The ends of the joists often sit in metal joist hangers. Be sure that each hanger is firmly fastened in place with hanger nails, not screws or common nails.
Replace any joist that’s badly cracked or has extensive water or insect damage. Pay particular attention to the ends of the joists, which have a tendency to rot and split. Check for joists that are sagging or badly bowed.
If the joists are cut from untreated lumber, they must be at least 18 in. above the ground.
6. Defective Decking
While composite lumber and PVC (plastic) decking are growing in popularity, a vast majority of decks are still covered with wooden deck boards. Walk back and forth across the deck and inspect each board for signs of rot, insect infestation, water damage, splinters, large cracks and popped fastener heads.
Also, make note of any boards that are badly twisted, cupped or warped. Remove and replace all damaged decking.
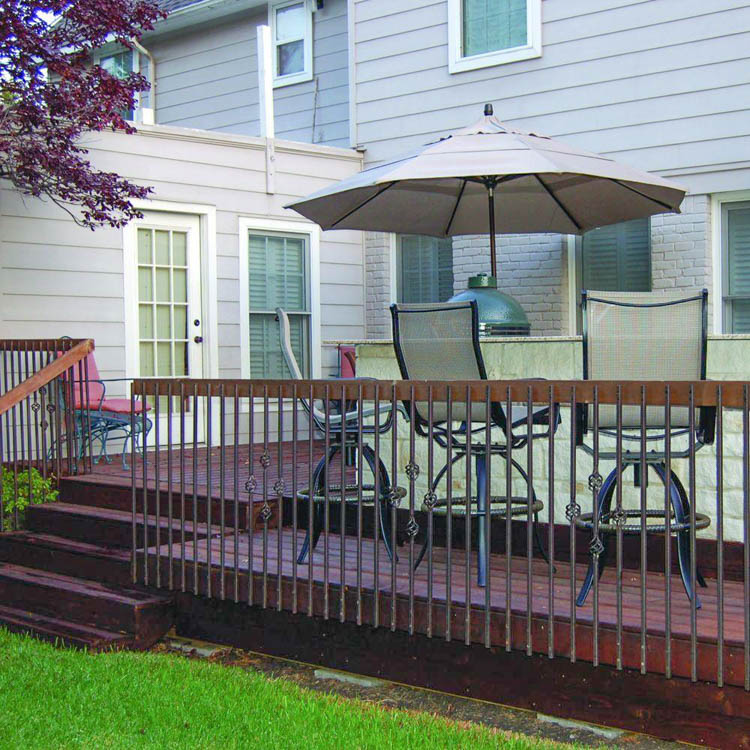
7. Rickety Railings
In most municipalities, decks higher than 30 in. above the ground must have a perimeter guardrail. It’s critically important that railings be kept in good, sound condition.
Start by confirming that each railing post is firmly attached to the deck frame and free of large cracks, rot and insect damage. Railing posts should be fastened with lag screws or carriage bolts, not nails or decking screws. If the bottoms of the posts are notched around the rim joist, check to be sure the posts aren’t splitting at the notches.
Each vertical baluster must be securely fastened to the horizontal rails. They must also be in sound condition and spaced no more than four inches apart. The handrail should be free of rough spots and splinters. Sand or plane the handrail, as necessary, to create a smooth surface.

Measure the height of the guardrail from the decking to the top of the handrail. It should be at least 36 in. high, although some towns require deck railings as high as 42 in. Check with your local building department for the correct railing height in your town.
8. Unsafe Stairs
If your deck has a staircase or set of steps, you must check each component—treads, stringers, handrails, balusters and support posts—for signs of structural damage, including large cracks, loose connections and missing fasteners.
The bottommost step and the bottom ends of the stringers are most susceptible to moisture-related problems, including water damage, rot, bug infestation, mold and mildew. Check the top of the steps or staircase to ensure it hasn’t pulled away or slipped down from the deck frame.
Make sure your handrails are in working order and aren’t coming loose. The building code requires all staircases to have graspable handrails measuring between 1¼ in. and 2¼ in. wide.
9. Busted Bracing
Most tall decks have diagonal bracing angling up from the support posts to the deck frame. The braces help stabilize the deck and deter it from swaying back and forth. Inspect each brace for large cracks or rot, especially at the ends. Replace all damaged braces. Then, confirm that each brace is securely fastened with lag screws or carriage bolts, not nails or decking screws.
10. Hardware Trouble
Chances are good that your deck was built with some sort of metal hardware item, which helped to speed construction and create strong joints. However, these pieces of hardware can’t do their job if they’re not in sound condition.
If the ends of the floor joists sit in metal joist hangers, inspect each hanger to be sure it’s not rusted or loosely attached. It’s also important that a nail be driven through every mounting hole in the hanger. If you see any open holes, drive in a hanger nail, not a common nail.
Metal post anchors are often used to secure the bottom end of a support post to a concrete pier. Confirm that the anchors are free of rust and in firm contact with both the pier and post.
Metal straps or hangers are often used to reinforce the connection between the top of a staircase and the deck frame. Carefully inspect the hardware to be sure it hasn’t ripped, rusted or pulled loose.
By conducting an annual deck inspection and making all necessary repairs as soon as possible, you can rest assured that your deck is safe for family and friends all summer long.
This guest post was written by Joseph Truini, a home-improvement expert who provides advice about all types of DIY projects, including how to fix your deck. To find wood decking boards and other materials that you may need for deck repairs, visit The Home Depot.
It is a nice post keep share the valuable information like this!
We have had homeowners that did not check the local codes and built decks in communities with HOAs that were too tall mainly. Of course we had to come in and fix the problem, which is basically a tear down and rebuild, so it can be costly. The other comment I liked was in talking about rust. Some of your hardware will be worth going stainless steal if you are in a saltwater or salt air environment as that stuff can rust and fail quickly. Thanks for all of this….good stuff.